FIMI X8 SE 2020 Rear Right Arm Replacement
Technical Repair and Evaluation Introduction
AYBERK BLOG
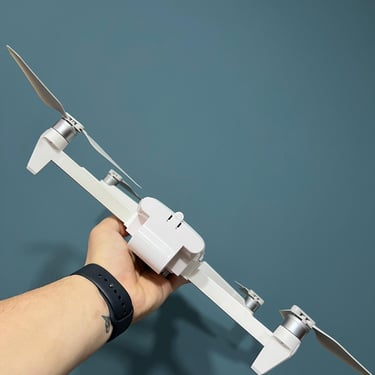
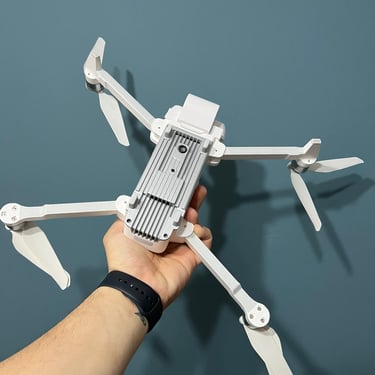
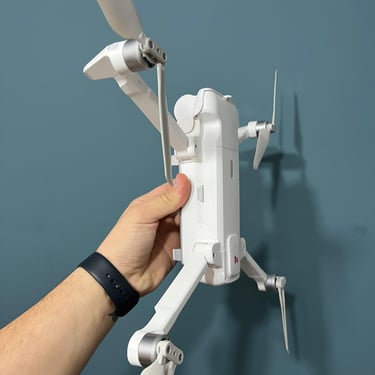
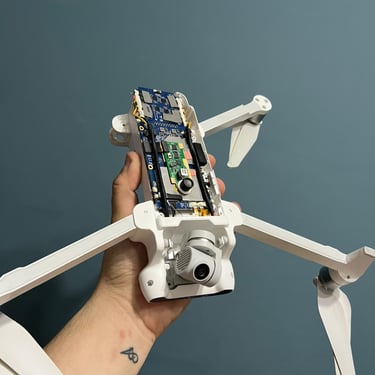
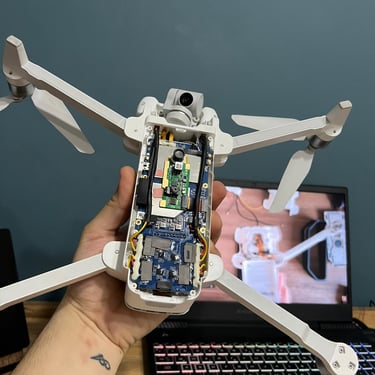
The FIMI X8 SE 2020 is a foldable UAV that stands out in its class with a robust mechanical design and powerful propulsion system. However, due to its foldable arm architecture, the arms are among the most vulnerable components in the event of hard landings or impact-related accidents.
This article provides a detailed technical overview of the rear right arm (motor arm) replacement process, including mechanical, electronic, and post-repair evaluation steps.
Technical Damage Assessment
In rear right arm failures, the following components are typically affected:
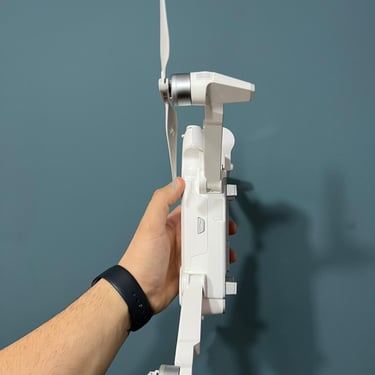
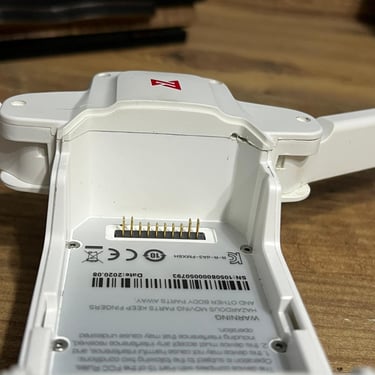
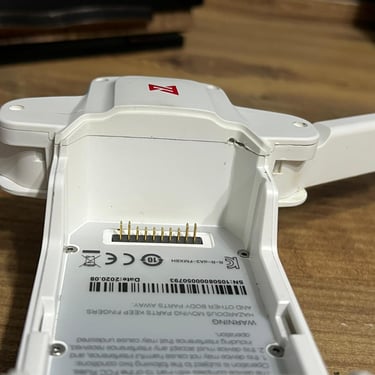
Foldable arm body (injection-molded structural plastic)
Motor mounting base
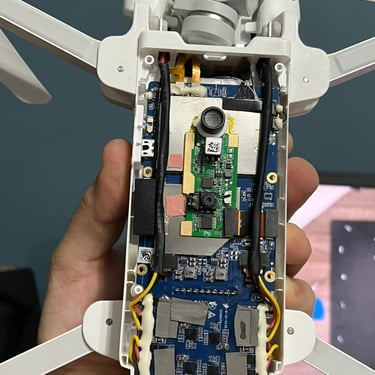
Motor wiring (3-phase ESC lines)
Internal signal / LED / GPS wiring routed through the arm
Arm hinge and locking mechanism
In this case, the structural integrity of the arm was compromised, making full arm replacement mandatory for flight safety. Adhesive bonding or partial repairs are not recommended due to vibration, resonance, and long-term fatigue risks.
Required Tools and Materials
Original or OEM-compatible FIMI X8 SE 2020 rear right arm
Torx T6 / T5 screwdriver
Plastic pry tool (spudger)
Fine-tip tweezers
Anti-static work surface
(Optional) torque-limited screwdriver
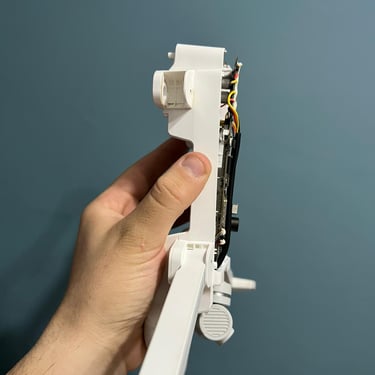
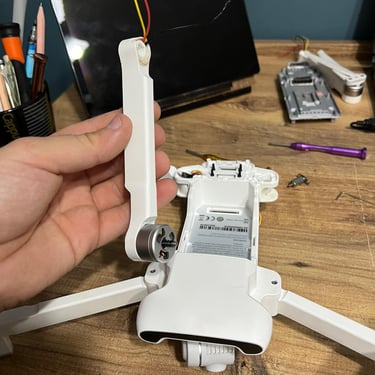
Disassembly Procedure
Remove the battery and fully power down the aircraft.
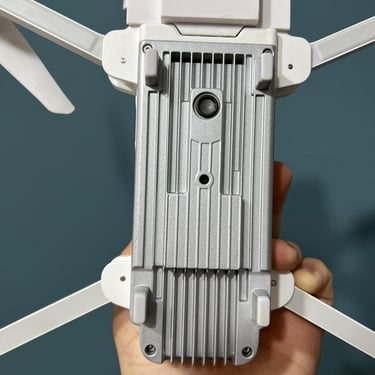
Remove upper and lower shell screws and carefully separate the body covers.
Disconnect the rear right motor connector and any LED or signal cables from the mainboard.
Remove the hinge and mounting screws securing the damaged arm.
Detach the motor from the old arm and transfer it to the replacement arm if the motor is undamaged.
⚠️ Note: Motor rotation direction (CW / CCW) and propeller type must be clearly identified before reinstallation.
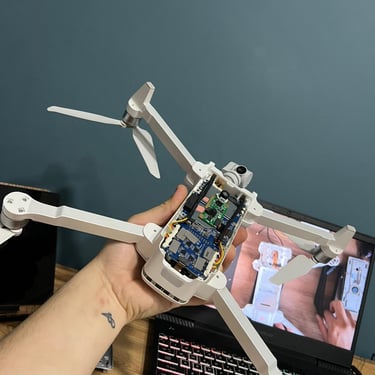
Installation Procedure
Mount the motor onto the new arm and tighten screws in a cross pattern.
Install the arm into the hinge mechanism and verify proper locking alignment.
Route motor and signal cables through the original internal channels.
Reconnect all connectors to the mainboard with correct polarity.
Before closing the shell, ensure no cables are pinched or stressed.
Mechanical and Electrical Verification
After assembly, the following checks must be performed:
Arm folding/unfolding resistance consistency
Free motor rotation test
Propeller alignment and bearing play inspection
Locking mechanism engagement under closed-shell conditions
Software Checks and Calibration
Post-repair calibration is critical to ensure stable flight performance:
IMU calibration
Compass calibration
Motor low-RPM test
Low-altitude hover test
Skipping these steps may result in drift, yaw instability, vibration warnings, or flight control errors.
Conclusion and Evaluation
Replacing the rear right arm of the FIMI X8 SE 2020 is a precision repair that requires technical awareness and careful execution. Using original components and performing post-installation calibrations ensures flight characteristics remain close to factory specifications.
For structural drone repairs, long-term flight safety must always take priority over short-term fixes.
Disclaimer
This repair procedure may affect the manufacturer’s warranty. All post-repair flights should be conducted in open areas under controlled and low-risk conditions.